|
Program Reviewer Guide
- Access the TerpEngage system using the link provided: (https://umd.lightning.force.com/)
- Log in with CAS to access the system using your University of Maryland directory ID and password.
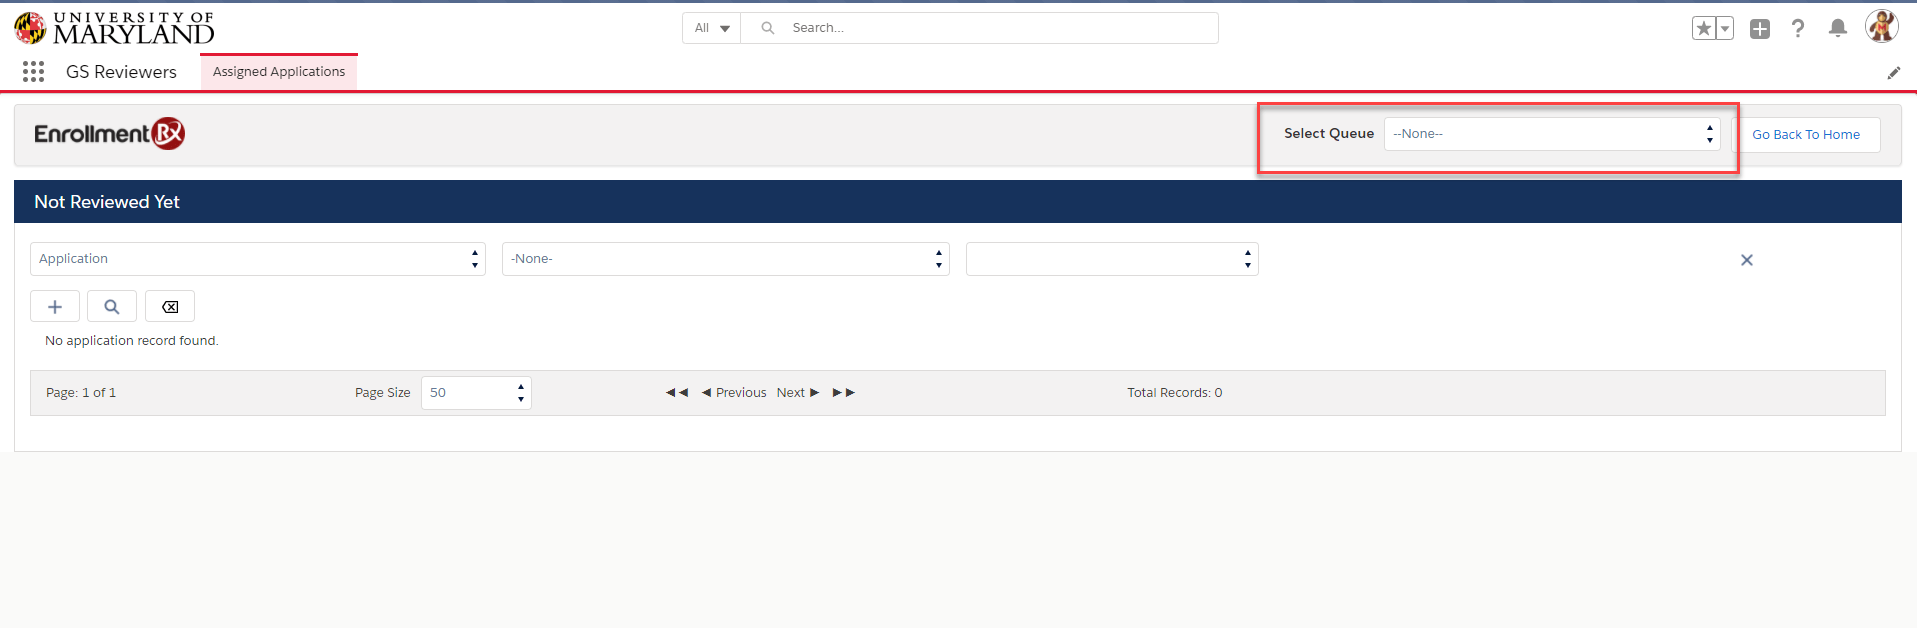
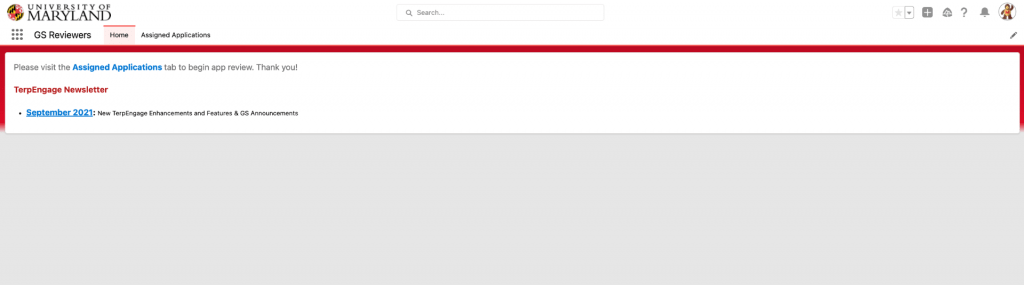
- When you have accessed the system, the first screen to appear is the TerpEngage home page. From here navigate to the Assigned Applications tab.
- Scroll to the upper right corner of the screen to the Select Queue field which will contain a drop-down menu bar (Figure 1).
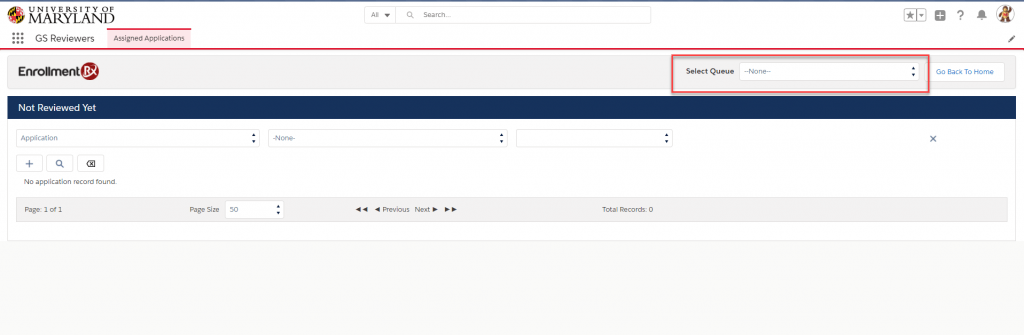
- Depending on how your administrator set up your account, you may see one or more queues on the menu. Reviewers that manage multiple programs will be assigned a queue for each program. Queues are tied to the program level. There will be a separate queue for Certificate, Master’s, and Doctoral degrees.
Example: The numbers are associated with the degree type and level. Shown in Select Queue menu (Figure 2)
30-M.A.
31-M.S.
33-M.B.A.
60-PhD
92-Non-Degree
94-V.G.S. Visiting Graduate Student. 
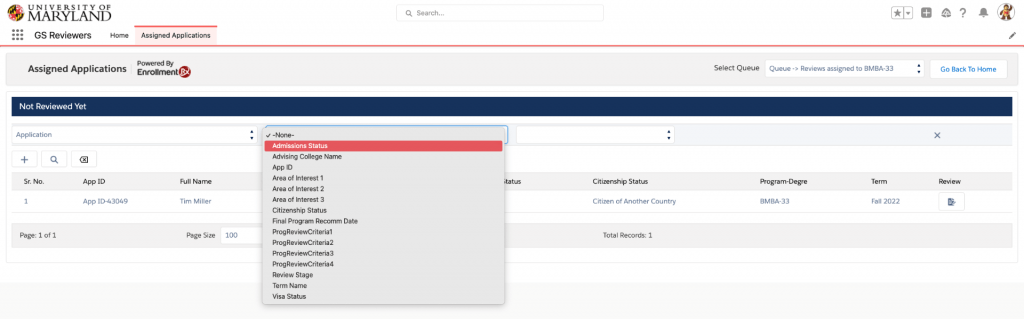
- The middle menu bar allows you to filter applications from the picklist below (Figure 3). The filters on this menu are standard for all reviewers. If there is a filter you would like to add, please contact The Graduate School to make a request.
Review applications as a Program Reviewer
- Once you have selected a queue, applications that are ready for review will appear. If you look at the Review stage column, you will notice the review stage reads “assigned for initial program review”(Figure 4). When you submit your feedback, the review stage will update.
- To review an application click the review icon under the review column to the far right of the screen.
 Summary page Summary page
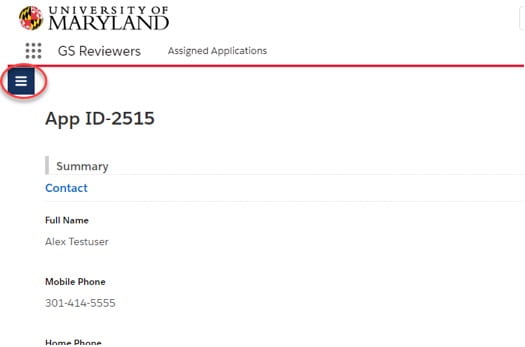
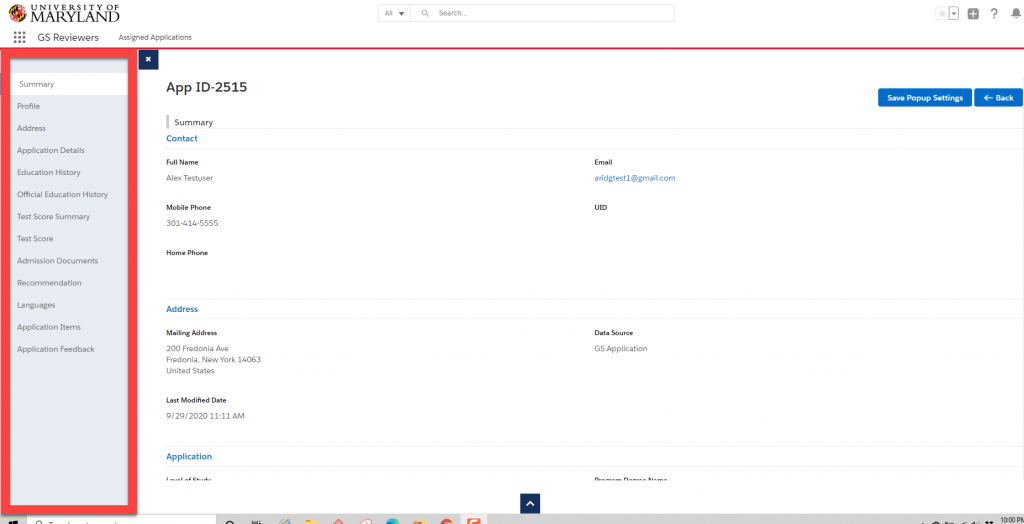
The summary page is the default page displayed after an application is selected for review. The Summary Page will list information the applicant entered into the system. You can access any admission document uploaded to the application from the summary page. Scroll to the bottom to view required admission documents and transcripts.
- There is small blue icons located on the left and right of the summary page. Click on the symbol on the left with three horizontal lines to expand the panel which will show all of the application items from the summary page in detail. (Figure 5)
 Left Panel items Left Panel items
- Select one of the items from the left panel to view more information in each section.
 Profile Profile
The profile section displays information specific to the applicant, such as their name, email, date of birth, and phone number.
Address
There may be up to three addresses listed in the address tab. The applicant’s current address, alumni address, or current student address if they are a current student. Check the data source to identify the address entered in the application. The data source should read “GS Application.”
Application Details
Application details will contain information regarding the degree program and the term to which the applicant applied. Other items include citizenship, memberships, military experience, and self-reported test scores, if applicable. You may also see an attachment of the application as it was submitted. Please note that any updated information will not be shown in this capture. The capture will only display the application when it was initially submitted by the applicant.
Navigate to the Application Details tab to download a pdf of the application. There will be at least one pdf present at the time of review. The title includes “AppSubmit” and is generated upon the submission of the application. Another pdf is created once the application is complete, which means all documents have been submitted. This pdf will contain “AppComplete” in the title.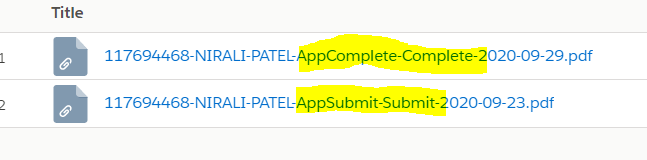
Education History
The Education History section shows all institutions the applicant listed in their application. If they attended more than one institution, you will need to click on the name of each institution to view the details. You may also view an attachment of their transcript at the bottom of the detail section.
Official Education History
Official Education History information comes from the mainframe if the applicant submitted official transcripts/degrees to ESO or the Graduate School. These records are updated by either The Graduate School or Enrollment Services in the student information system (SIS).
Test Score Summary
In the Test score summary section, you can find information on an applicants’ super scores. If the applicant is an international student, you may view TOEFL super scores and the highest IELTS and PTE scores.
Test Score
Under the Test Score Summary is the test score section. This allows you to view each section score from all exams submitted. Click on the Test Score Name to the left to view the scores received in each section of the test. Three columns are displayed, which provide the test score name, module name, and test taken date.
Admission Documents
Depicts all of the required admission documents for your program. You may click the document under the AP ID column to view each document. You may also check the status of each document on the right column under document status.
Recommendation
Navigate to Recommendation to view the status and recommendations, including a pdf of the recommendation letter. Please note that recommendation letters are not required to submit a recommendation form. A letter will be attached only if the recommender chose to submit a recommendation letter.
Languages
If your department requires competency in languages, it will be shown under the language section. Do not be alarmed if you see “No Record Found” in any of the sections. This is most likely due to your program requirements.
Application Items
Any other information required by your program will be shown in application items such as the Faculty of interest. If your program does not require additional information, not found in the previous sections, you will see the “No Record Found” message.
Application Feedback
The final section on the left of the summary page is the application feedback. You can view previous reviewers’ comments and admission decisions. Click on the reviewer’s name to view specific reviewers’ feedback. For example: If you are the fifth reviewer to offer feedback on an application, you can view the feedback of reviewers one through four.
Reviewer Feedback Panel
- There is a small blue comment box icon to the right side of the main Summary page. Click that icon to open the Reviewer Feedback panel. The reviewer feedback panel allows you to write comments and submit feedback for an application.
- To keep the left or right panels from the summary page open select the “Save Popup Settings” button. Every time you enter an application, these panels remain open.
- You can also remove some white space on the screen by selecting the Compact Layout.
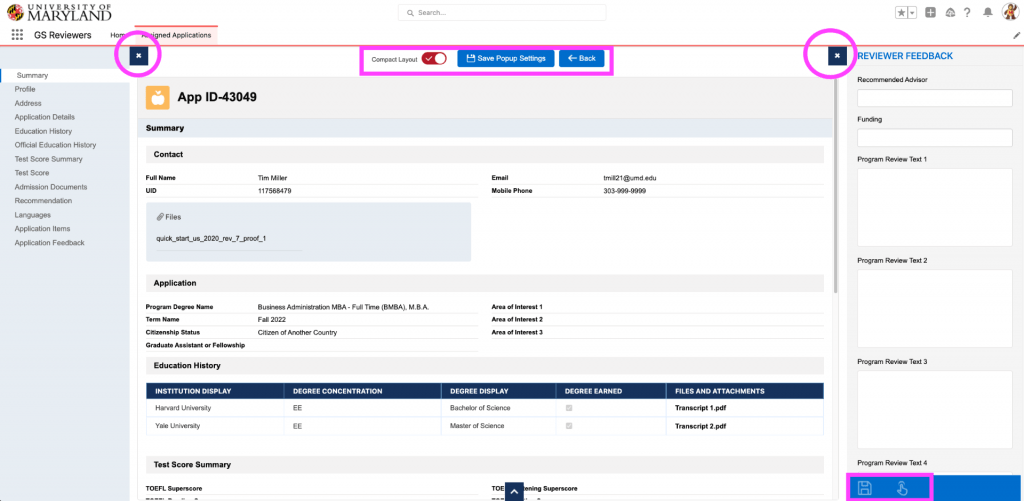
- There are three basic sections on the reviewer feedback panel. The first section is the Recommended Advisor. The next is Funding (If your programs offer to fund a student), and the final section is five Program Review text boxes. This section is customizable, depending on your internal review process. For example, if you have multiple reviewers in the initial review stage, you may assign each reviewer a text box to write their comments. The program review text boxes are optional and are not required to submit an application for the next round of feedback.
- The disk icon saves program reviewer feedback. Select the Save button if you are not ready to submit the application. Please Do Not Click Submit unless you are ready. Once you submit your feedback, the application will leave your queue. The workflow cannot be reversed.
- The initial reviewer should not submit feedback twice for the same applicant under any circumstance. The entire workflow will be compromised if the feedback is duplicated.
- Once you are ready to submit your review, click the pointed finger icon.
 Remember, you cannot go back and edit your review on an application once you hit submit. Click the disk icon to save your feedback, which allows you to make edits at a later time. Remember, you cannot go back and edit your review on an application once you hit submit. Click the disk icon to save your feedback, which allows you to make edits at a later time.
- When you have submitted your feedback, you will be taken back to the Assigned Applications screen.
Final Reviewer Feedback (If you are not your programs Head Reviewer then the rest of this document does not pertain to you.)
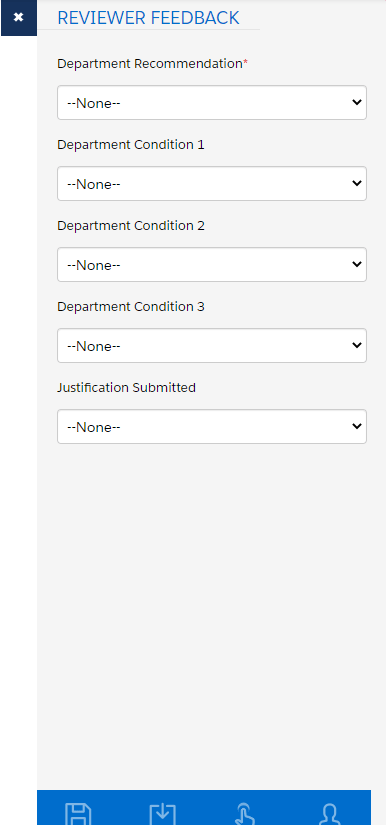
- Once an application has been submitted for the next round of feedback (Program Reviewer to Final Reviewer), the review stage column will read “assign to final program review.” The summary page and the left panel will look the same. The right reviewer feedback panel, however, will change with a selection of five dropdown menus.
- The picklist is similar to the options available in AppReview. The fields included are Department Recommendation (the official program decision), three menu bars for department conditions, and justification submitted.
- If a justification letter is required for reasons such as low GPA or low language proficiency scores, please have a DGS/CGS upload the letter and select “Yes” for Justification Submitted.
- The disk icon saves program reviewer feedback. Select the Save button if you are not ready to submit the application. Please Do Not Click Submit until you are ready. Once you submit your feedback, the application will leave your queue. The workflow cannot be reversed.
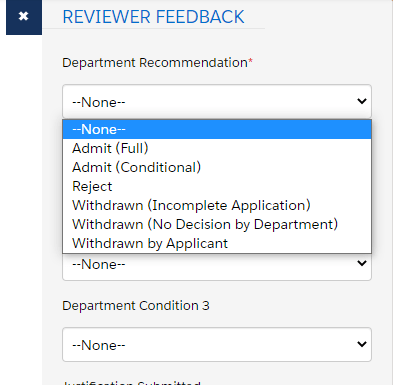
- Enter the Final Program Recommendation: Admit (Full), Admit (Conditional), Reject, Withdrawn (Incomplete Application) Withdrawn (No Decision by Department, Withdrawn by Applicant.
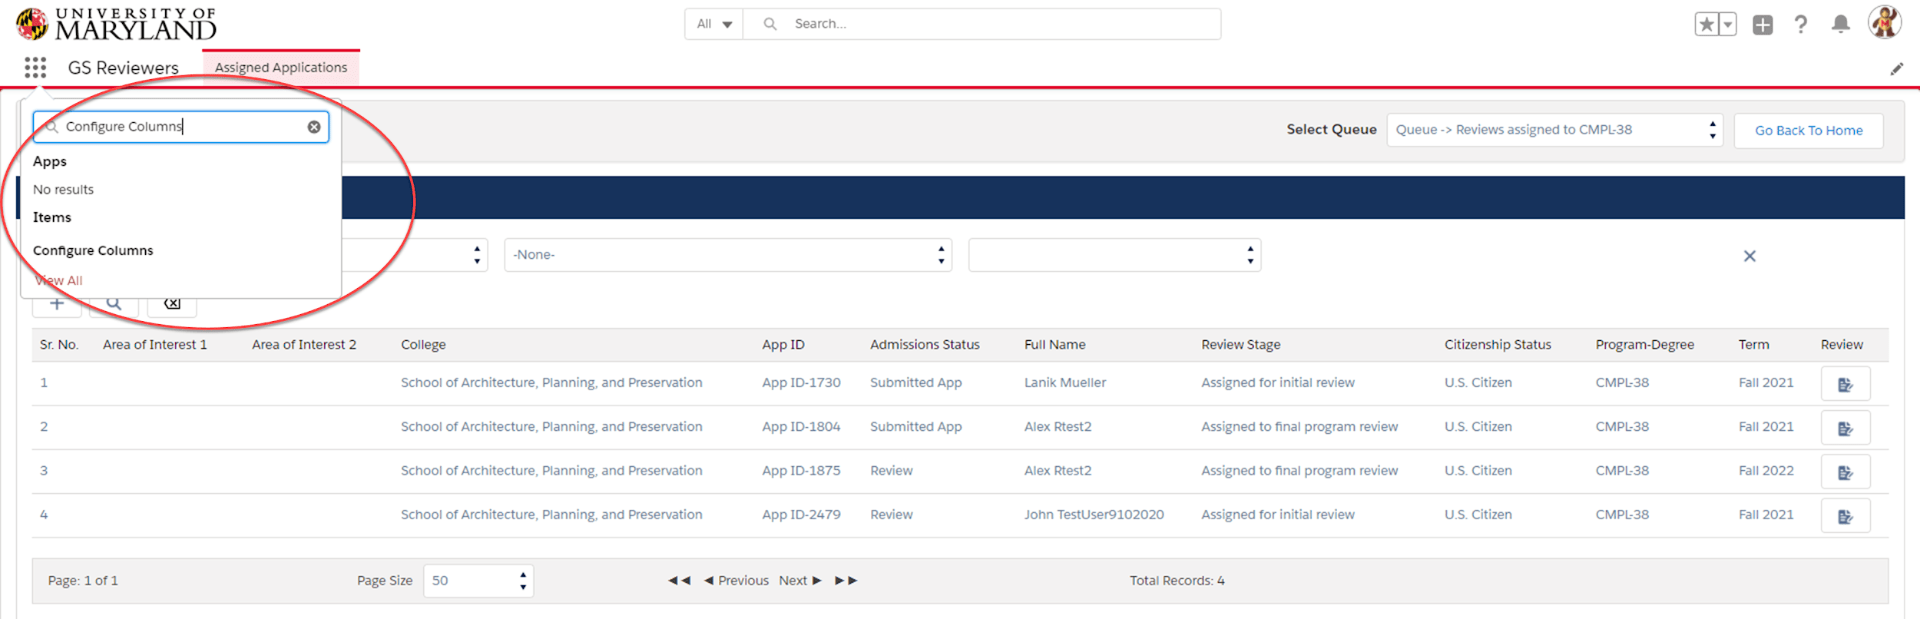
Customize Columns in Enrollment Rx

- To customize the columns (area of interest, App ID, Review Stage, Full name, etc..) navigate to the nine-dot app launcher and type “Configure Columns” in the search list.
- Check the fields that you would like to add to the Home Screen, then click “Save and Next” at the bottom of the screen.
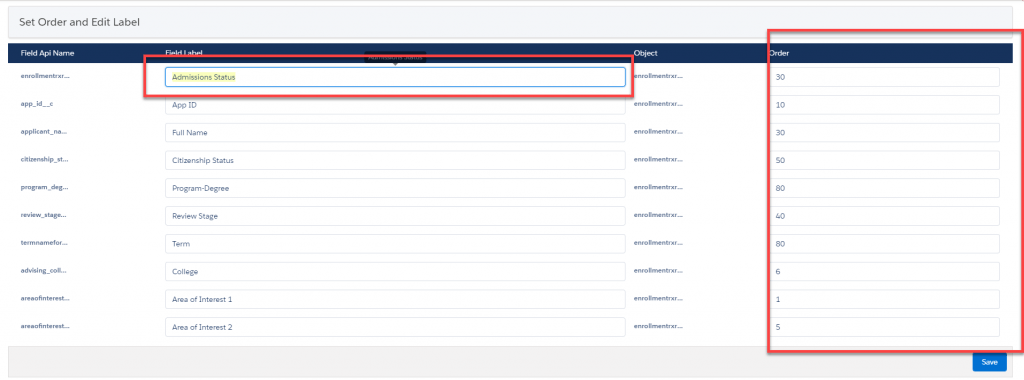
- The field label name and order in which the column will appear can be customized. Once you have entered the field label and order click save.
|